The Orloffs Protocol
Since 1999 I've cleaned hundreds, if not thousands, of different window brands and systems. The physics of clean glass don't change from one brand to the next.
Follow these steps in order. Each one builds on the last. This is the same sequence I use on every installation.
Looking after one make of window? The encyclopedia has the notes for 384 manufacturers.
Preparation: before any water touches the glass
Fill the bucket with at least 10 liters (about 2.6 gallons) of water. Add soap for cleaning power: enough to cut through environmental deposits, not so much you are fighting foam.
Before touching the glass, brush down the surface to remove loose dust, spiderwebs, and debris. Any grit left on the glass during the wash phase risks scratching during agitation.
Cover anything below the windows that cannot be moved.
Check the frame condition before you start. Confirm which cleaning product is safe for that surface before opening any bottle.
Agitation: apply and work the solution
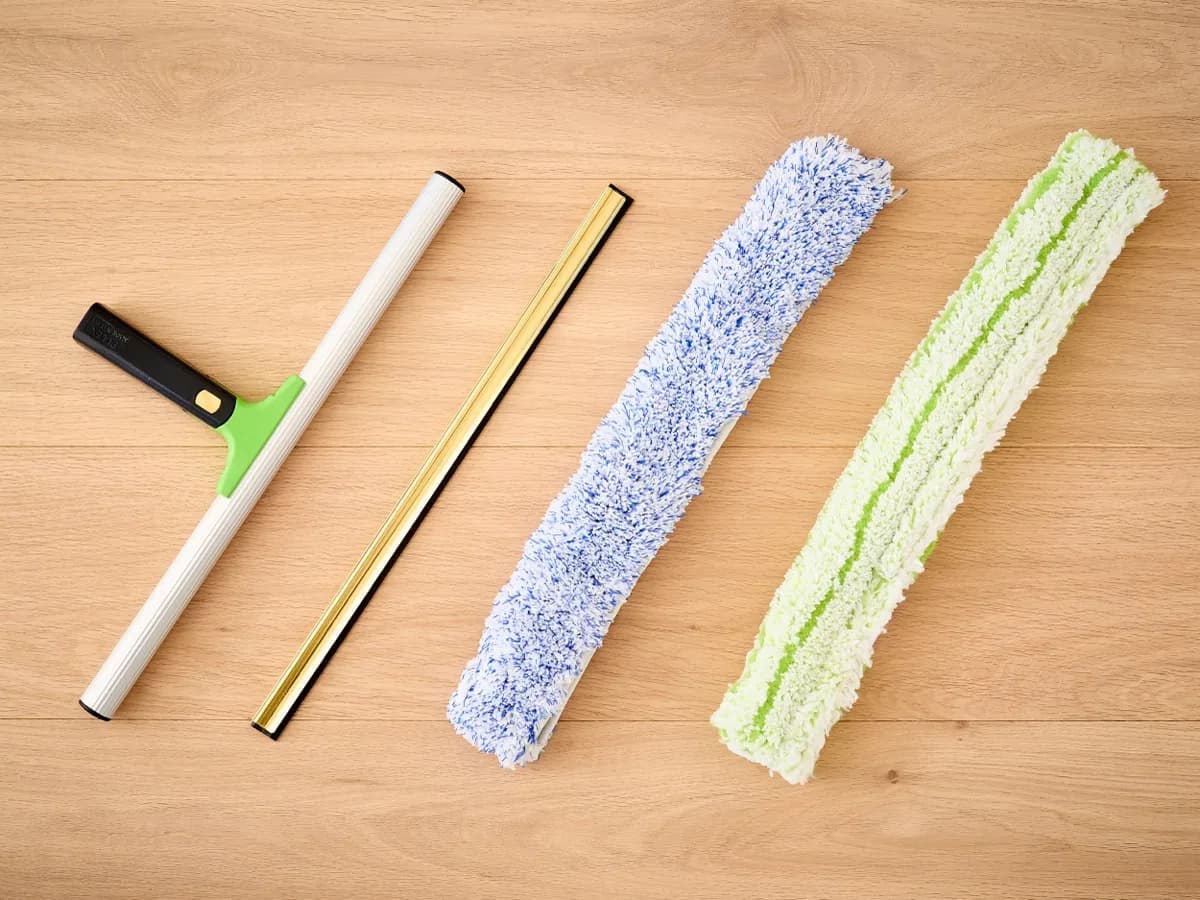
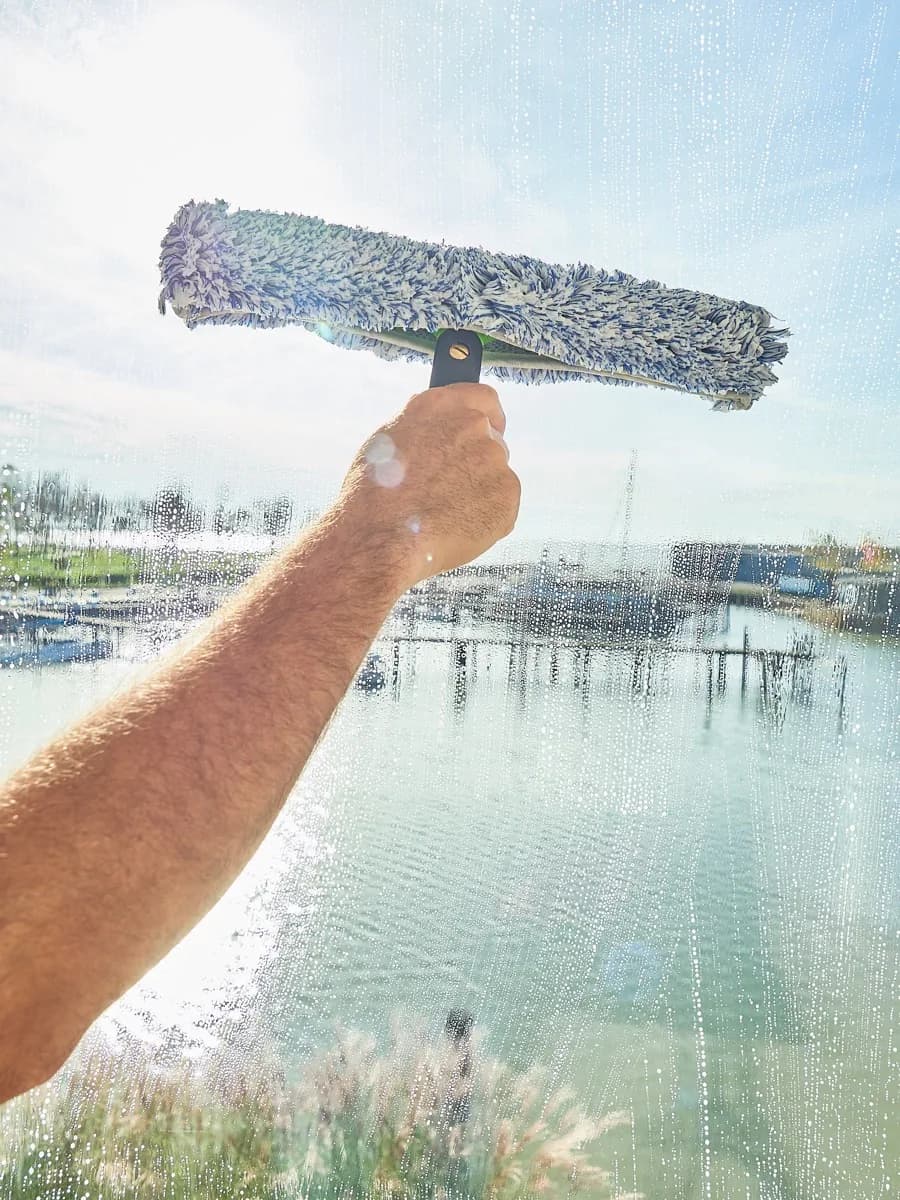
Dip the microfiber T-bar completely into the soap water, both sides. Remove excess water with your hand so it does not drip. Apply the solution across the entire glass surface with overlapping passes.
The goal is to fully dissolve and release every deposit from the glass surface. Anything not released during agitation gets transported across the glass by the squeegee as a smear.
For stubborn spots (insect marks, salt residue, environmental deposits), re-apply soap water and allow it to soak for a full minute before agitating again. Use more soap water, not more pressure.
For panels above arm reach: attach the T-bar to an extension pole. Work in sections (top first, then middle, then bottom), keeping each section wet until you squeegee it.
Rinse the T-bar cover regularly during the job. A dirty applicator causes microscopic scratches that accumulate over time.
Detail the frame edge before squeegeeing
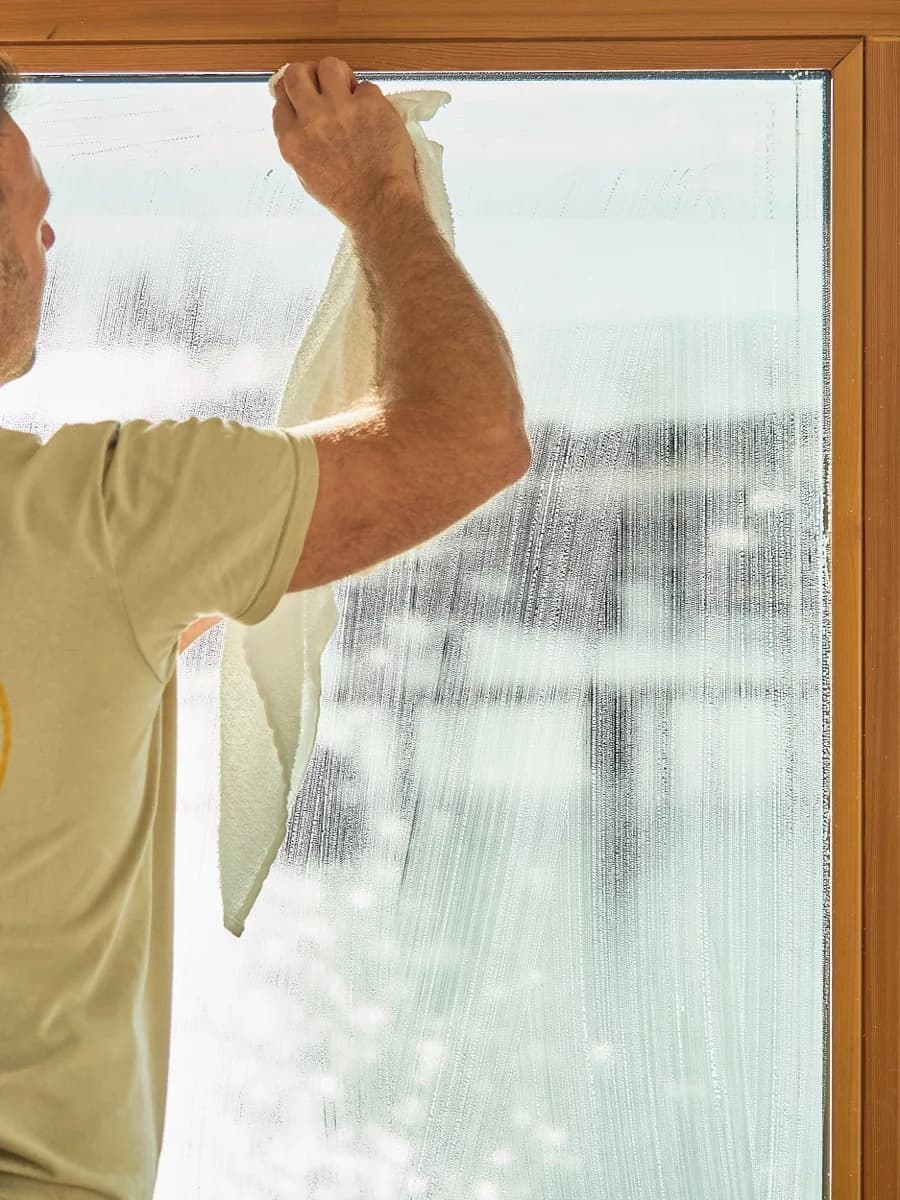
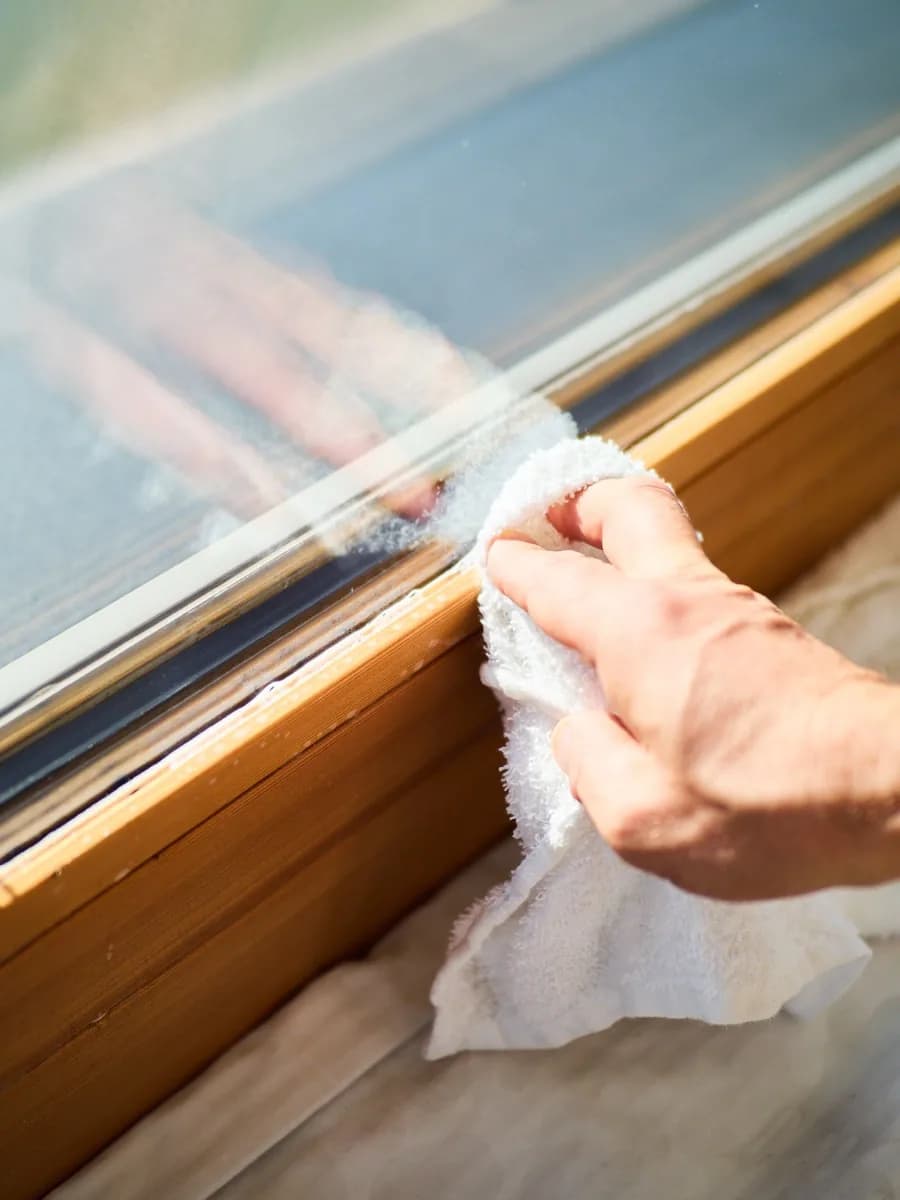
Use your 100% cotton toweling rag, finger pressed into the fabric, to work into every junction and remove pooled soap water before the squeegee pass.
This prevents drips running down onto already-cleaned areas during squeegeeing and keeps soap water out of drainage channels.
The squeegee
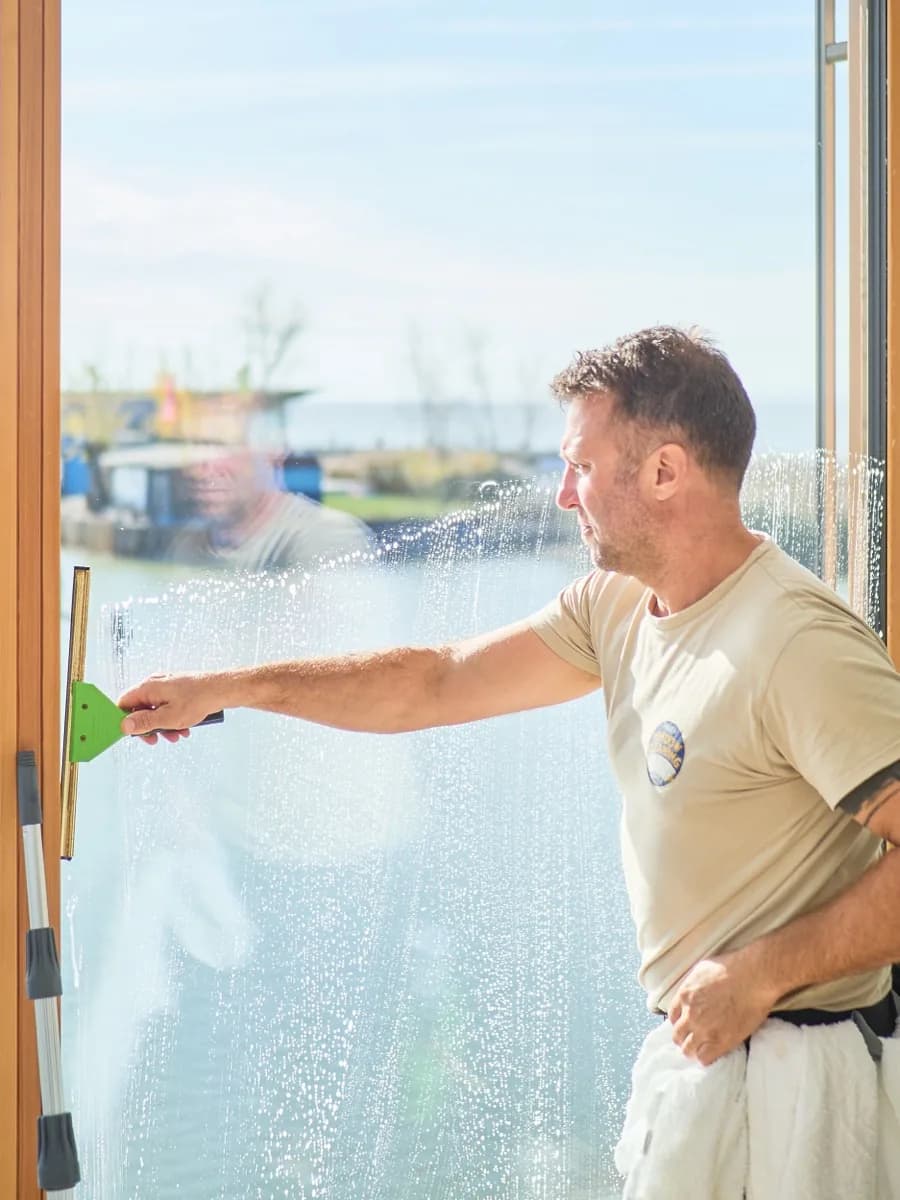
Tilt the squeegee at a slight angle so soap water spills from one side of the channel only, not both. If the rubber is jumping or squeaking, either the rubber is not lubricated enough or the glass surface has warmed.
Cutting in: start with the rubber blade making first contact on a dry edge of the glass.
Side to side: horizontal passes across the panel. Works well on wide sections. Top to bottom: vertical passes down the panel. Works well on tall narrow sections.
The J turn: one smooth unbroken motion top to bottom, wrist rotating at each end to reverse without lifting the rubber. The most efficient method on larger panels, but it requires training before applying it to premium glass.
Wipe the rubber dry after every pass. Overlap each stroke by 2-3 cm (about 1 inch).
Final edge detailing
After squeegeeing, there is always a residual line of water along the bottom edge and at the panel sides. Take a dry cotton rag, fold to a clean corner, and detail these edges in one smooth pass.
Rotate the rag to a clean section after every pass. If the rag picks up grit at any point, replace it immediately.
Frame wipe and hardware check
Check that all drainage openings are clear and unobstructed. Water must be able to flow freely: a blocked channel leads to accumulation that affects seal performance over time.
Operate every opening window through its full range. Stiff handles or resistance at locking points indicate hardware that needs lubrication. Flag it to the owner rather than forcing it.