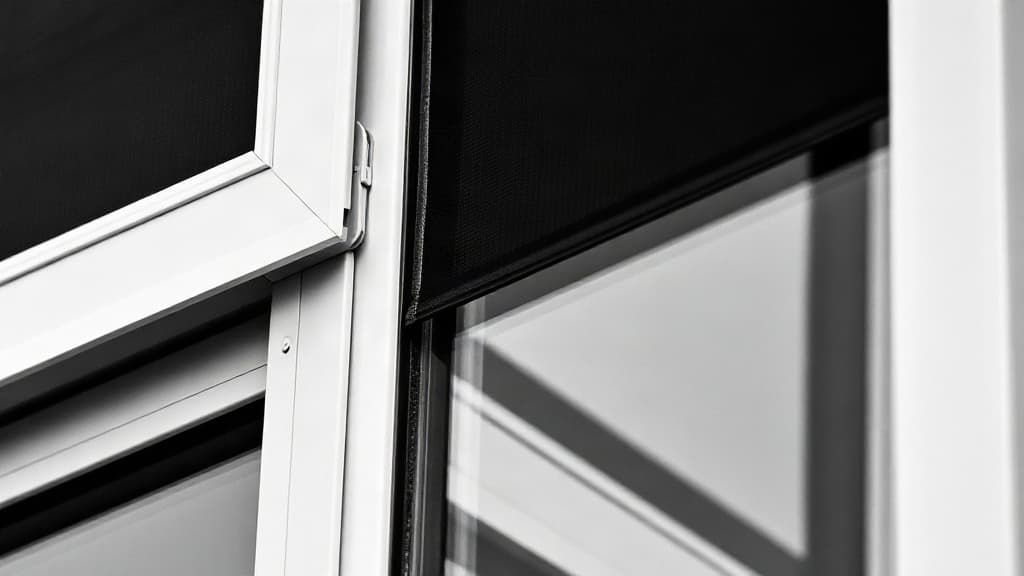
How to Remove and Clean Window Screens (The Professional Way)
Learn how to remove window screens safely, clean them the professional way, and reinstall them without gaps or rattles. Practical steps from 25 years of experience.
TL;DR
- To remove window screens safely, press the frame inward at the top corners and tilt the bottom outward before lifting free.
- Dirty screens block up to 30% of natural light even when the glass beneath is clean.
- Wash screens flat with a soft brush, soapy water, and a rinse. Never use a pressure washer.
- Clean screens before you clean the glass, not after. Order matters for a streak-free result.
- Reinstalling a screen incorrectly is the most common reason windows leak air and let in insects.
I have cleaned windows in hundreds of homes across Vienna and Melbourne, and the screen is almost always the last thing anyone touches. People wash the glass, stand back, and wonder why the view still looks dull. The screen was sitting in front of it, grey with a season's worth of dust, and nobody noticed. That is the problem. A perfectly cleaned pane behind a filthy screen looks like a smudged pane. The screen erases all the work.
Knowing how to remove window screens properly is the starting point for any real window cleaning job. It takes two minutes. The payoff is immediate. And most people have never been shown how to do it correctly.
Why Screens Are the Most Ignored Part of the Window
Screens sit in front of the glass all year. They catch pollen, dust, fine grit, spider webs, and pollution. On a bright day, all of that scatters light and creates a haze between you and the outside world. The glass underneath can be spotless and you still cannot tell, because the dirty mesh is doing its job of being invisible in the worst possible way.
The other reason screens get ignored is that people are nervous about removing them. They assume it requires tools, or that the frame will bend, or that the whole thing will fall. None of that is true if you understand how the frame is held in. Most residential screens sit in a channel and are held by nothing more than spring tension or two small plastic clips. Once you feel how they release, the nervousness disappears completely.
How to Remove Window Screens Without Damaging Them
Removing a window screen correctly means releasing the tension before you pull, not forcing it. The exact method depends on the screen type, but the principle is the same: find the retention point, release it, and tilt the frame free rather than yanking it straight out.
Spring-Loaded Screens (Most Common in Residential Windows)
These screens sit in a channel and are held by small plungers or spring tabs at the top or sides of the frame. You push the frame slightly inward at the top to compress the springs, then tilt the bottom edge toward you and lift the screen out of the lower channel. Go slowly. The frame does not need force. If it is resisting, you are either pushing the wrong direction or there is a clip you have not released yet.
One practical tip: do this from inside the house when possible. Standing inside, pushing the screen toward the outside, gives you far more control than reaching out from an exterior window ledge.
Clip-Style Screens
Some screens use small plastic or metal clips at the corners or along the frame edge. These are usually visible once you look for them. Press or slide the clip to release, then follow the same tilt-and-lift movement. Keep the clips somewhere safe, a small bowl on the windowsill works well, because losing one clip means the screen will not seat properly when you reinstall it.
Tab-Style Screens on Casement or Tilt Windows
Casement windows and tilt-and-turn windows (very common in Austria and across Europe) often have screens that are removed from the outside or that lift out vertically after releasing two pull tabs at the bottom. Identify the tabs first. Pulling before releasing the tab is what causes bent frames. Release both tabs simultaneously, lift straight up, and the screen slides free of its channel.
What to Do If the Screen Is Stuck
Paint, swelling from humidity, or years of grime can all cause a screen to stick in its channel. Never wrench it. Work a plastic putty knife or a flat piece of stiff card along the edge of the frame to break the seal. A very small amount of silicone-based lubricant on the channel, applied with a cloth, solves most sticky screen problems without damaging the frame or the surrounding finish.
If the frame has warped, that is a different issue. A warped screen frame will not seal correctly when reinstalled, which means insects and air will get through regardless of how clean it is. Replacement frames are inexpensive and widely available. It is worth addressing rather than forcing the old frame back.
How to Clean Window Screens Properly
Once the screen is out, the cleaning itself is straightforward. The mistakes people make are using too much pressure, using the wrong brush, or not rinsing thoroughly. Any of those leaves residue in the mesh that blocks light almost as badly as the original dirt.
Lay the screen flat on a clean surface, a towel on a table or a piece of cardboard on the lawn both work. Mix a small amount of dish soap in warm water. Use a soft-bristled brush, a dedicated scrubbing brush or even a clean paintbrush, and work the soapy water gently into the mesh in one direction. Think of it like the agitation step in professional window cleaning. You are loosening the dirt from the fibres, not grinding it deeper. Agitate the dirt free, then rinse.
Rinse with a gentle flow from a garden hose or a jug of clean water. Never use a pressure washer on a screen. The mesh is under tension and a pressure washer can distort or tear it in seconds. After rinsing, stand the screen upright and let it air dry before reinstalling. Reinstalling a wet screen leaves water marks on the glass as it drips. That is one of the most common reasons a freshly cleaned window looks dirty again within the hour.
Does Screen Cleaning Order Actually Matter?
Yes, the order matters, and it changes the result significantly. Clean the screens first, then clean the glass. If you do it the other way around, rinsing the screen sends dirty water down the glass you just cleaned. You will be doing the glass again. Remove the screens at the start of the job, clean them, set them aside to dry, and clean the glass while the screens are drying. By the time the glass is done, the screens are ready to reinstall.
This is the same approach I teach in my training, where we cover not just technique but the logic behind sequencing a job. A professional does not just know how to clean. A professional knows what order to do things in so each step supports the next. If you want to go deeper on the technique side, the article on how to clean windows with a squeegee step by step covers the glass side of this in full.
How Do You Reinstall a Window Screen Without It Falling Out?
Reinstalling correctly means the screen sits flush in its channel with the retention mechanism fully engaged. A screen that seems in place but is not fully seated will rattle in wind and may fall out entirely. To reinstall, tip the top of the frame into the upper channel first, then press the bottom edge in and push upward to compress the springs, then release so the springs lock the frame. You should feel and hear the frame seat. Give it a gentle outward push to confirm it will not move.
For clip-style screens, reattach every clip. For tab-style screens, confirm both tabs click back into their seated position. Run a finger around the full perimeter of the frame. There should be no visible gap between the frame and the channel. A gap means air, insects, and eventually more dirt will enter directly at that point.
Tools You Need (The Short List)
You do not need specialist equipment to remove and clean window screens. The full kit is a soft brush, a bucket, dish soap, clean water, and a flat plastic tool for screens that are stuck. A second clean towel to dry your hands while you handle the glass afterward is worth adding to the list. That is it. The same minimalist approach applies to the glass cleaning tools. The article on the only window cleaning equipment you actually need covers exactly what to buy and what to skip.
What Professional Window Cleaners Know That Most Homeowners Don't
The screen is not an accessory. It is part of the window system. When I am quoting a job, I assess the screens at the same time as the glass. A clean pane behind a dirty screen is half a job. A screen reinstalled incorrectly undermines the seal and the appearance of the whole window.
The other thing professionals know is that screens degrade. The mesh gets brittle, the spline that holds the mesh in the frame dries out, and the frame itself can oxidise or warp over years. Cleaning a screen regularly extends its life considerably. The dirt itself holds moisture, and moisture accelerates oxidation on aluminium frames. A screen that is cleaned twice a year will outlast one that is never touched by a significant margin.
I have been cleaning windows professionally since 1999, first in Melbourne, then in Vienna. In that time, the screens have been the part of the job most people underestimate. Not because they are difficult. Because nobody told them the screens matter. They do. They are part of the view, and the view is worth protecting.
Peter Kober, one of my students, summed it up well after going through the training. He bought a starter kit, cleaned his first eight windows in under two hours, and said: "Some had not been cleaned in five years. Streak-free. Best decision I have made in a long time." The screens were part of that process. The full result came from treating the whole window, not just the glass.
If you want to understand why your windows streak and what to do about it from first principles, the article on how to get streak-free windows every time is the place to start.
Ready to Clean Your Whole Window the Professional Way?
Screens are one piece of the picture. The glass technique, the squeegee angle, the sequence of every step, those all connect. My free training, the Window Cleaning Manifesto, covers exactly why windows streak and how to fix it. No credit card. No commitment. Five to ten minutes and you will understand the glass side of this in a way most people never do.
If you want the full system, including the glass technique, the professional sequence, and the hands-on AR trainer that builds muscle memory before you touch real glass, the homeowner training page has everything in one place.
Finding this useful?
Start cleaning your windows the professional way at orloffs.com/for-home-owners
Frequently Asked Questions
How do I remove window screens that don't have visible tabs or clips?
Most screens without visible clips are spring-loaded. Press the frame inward at the top corners to compress the spring tension, then tilt the bottom edge of the screen toward you and lift it free of the lower channel. If it does not move, look for a small recessed plunger on the side of the frame that needs to be depressed first.
How often should window screens be cleaned?
Twice a year is the practical minimum for most homes, once in spring and once in autumn. In dusty environments, near construction, or in homes with heavy pollen exposure, quarterly cleaning will make a noticeable difference to light quality and air flow through open windows.
Can I clean window screens without removing them?
You can vacuum them in place and wipe them with a damp cloth, but you cannot properly agitate and rinse the mesh without removing the screen. In-place cleaning removes surface dust but leaves embedded grit and residue in the mesh. For a genuine result, removal and flat washing is the only reliable method.
What is the best way to dry a window screen after washing?
Stand the screen upright and lean it against a wall or fence in a spot with airflow. Do not lay it flat to dry on a surface that traps moisture underneath the mesh. Allow it to dry completely, usually 20 to 30 minutes in good conditions, before reinstalling to prevent water drips on the freshly cleaned glass.
How do I know if a window screen needs replacing rather than cleaning?
Check the mesh for tears, holes, or areas where the mesh has pulled away from the spline around the frame edge. Check the frame itself for bends or warping that would prevent a flush seal. A screen that cannot seat correctly in its channel, even when clean, should be replaced. Replacement mesh and frames are widely available at hardware stores and are inexpensive relative to the function they serve.
Does removing and cleaning window screens really improve the view?
Yes, measurably. A dirty screen diffuses and blocks light even when the glass behind it is clean. Removing, washing, and correctly reinstalling a screen restores full light transmission and sharpens the view through the window. It is one of the highest-impact, lowest-cost improvements you can make to how a room feels.
About the author
Justin Orloff is a professional window cleaner with over 25 years of experience, based in Vienna, Austria. He created the world's first AR-powered window cleaning training program at orloffs.com.
25+ Years of Cleaning, Digitally Made Accessible: My industry insights are 100% human-driven. Because I live with dyslexia, I use AI tools to ensure my 25+ years of master experience is polished and readable. To my Editorial Policy
Was this article written by AI?
Yes. AI helps me polish and format my writing because I'm dyslexic. The experience, techniques, and opinions are entirely my own. Full details in my Editorial Policy.